Post by Pash Master on Aug 7th, 2007 at 9:10pm
Okay, I'll try to put it simple.
First off you need to have the textures. Its included in the repaint kit. The repaint kit is located in your program files and/or here:
C:\Program Files\Microsoft Games\Flight Simulator 9\Aircraft\Legendary_707\Repaint Kit
If you don't have it, click here:
http://www.captainsim.com/support/dl/rk707.html
Before you do anything, and I mean ANYTHING, always use a copy of the textures. NEVER operate on the original one.
Next, you need a program with PSD ability. You have Adobe Photoshop CS2 right? It should work fine with it.
Now you need to know which textures are which (you didn't think it was that easy, did you?):
b707_1_t ---- Front of aircraft
Here you can paint the front of the aircraft as well as a door
b707_2_t ---- Back of aircraft
Here you can paint the back of the aircraft (duh), the bottom and the cargo hold if you want
b707_3_t ---- Left wing
The name says it all. You can edit the top and bottom of the wing, lights, and much more. Just about everything that's on the wing. ;)
b707_4_t ---- The right side of the wing.
Here you can edit the wing, flaps (I think) and the entrance of the plane near the cockpit.
b707_5_t ---- The Tail and fin
Here, edit the tail and fin of the aircraft
b707_6_t ---- The engines
Edit the engines here. You can even edit the turbo fan!
b707_7_t ---- Cockpit
In here you can change everything in the cockpit, from the pilots face to the instrument panel. Plus there's a bonus... the wheels can also be changed. Ā;)
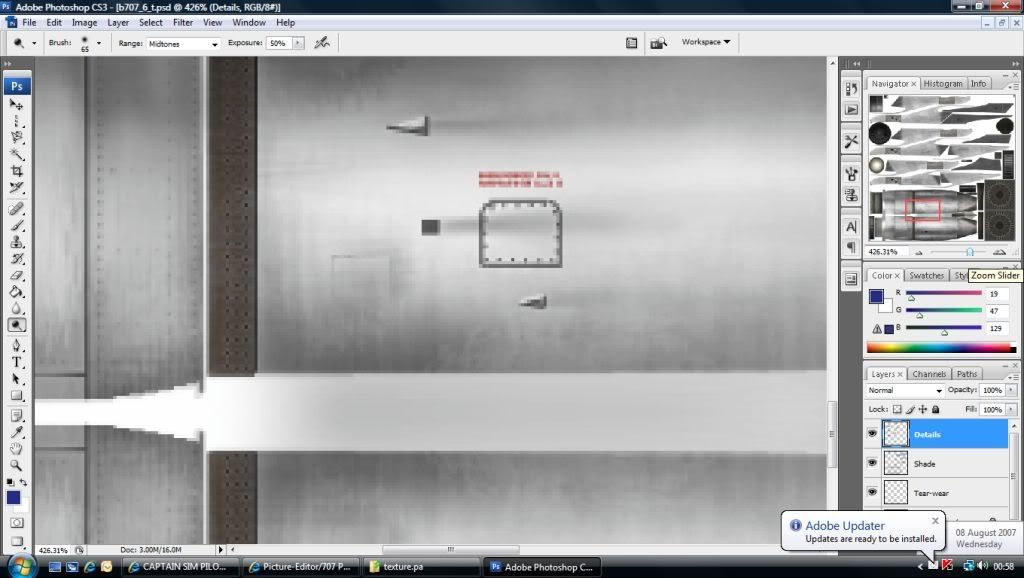
Now, open one of them and you should see, well, nothing to be exact:
Now, see on the bottom right hand corner, the thing with the names and stuff. Well, that is the layers. Photoshop uses a lot of this.
What are layers? Well, the name says it all. Its like pieces of your picture. You can select one, and work on it without damaging other layers. Its very useful. Anyway, you see the little eye next to some of the layer's names? Click that and that layer will appear. When you want to make a repaint, be sure to open only the layers you need. Otherwise you could end up with a Boeing 707-E-3 ADV! Ā:o
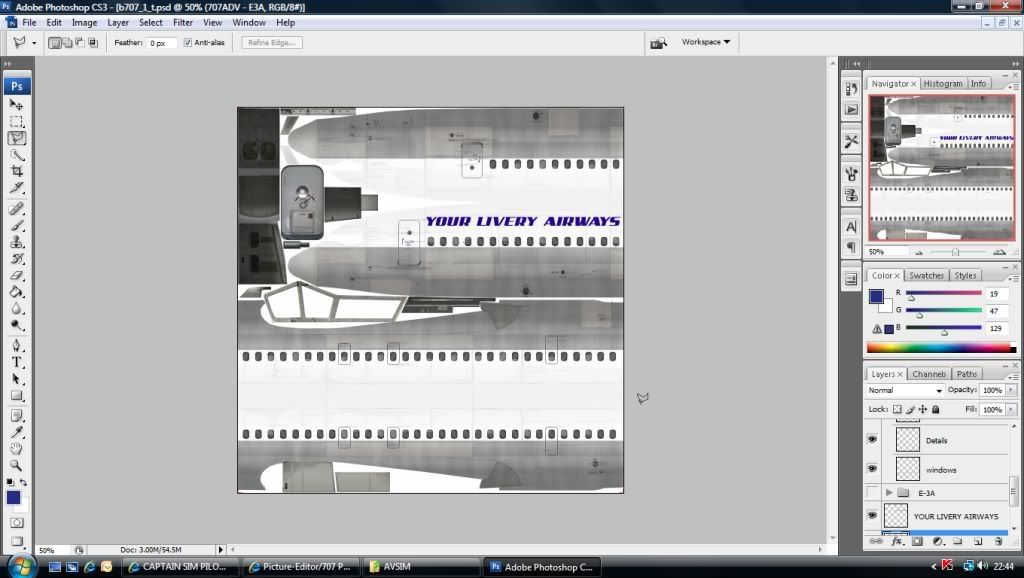
So, lets say you want to do a repaint for the -320 ADV. You first open every layers that is needed for the -320 ADV. It should look something like this at first:
Now, here's the cool part. You can select a layer from the bottom right hand corner again and it will appear blue:
But that's not the cool part (even though it is very cool! Ā;D). Once you've selected a layer, you can work on it without damaging other layers. By that I mean you can try to paint other other layers but nothing will happen until you Āselect it. When repainting you'll be using this for almost every repaint you do! Ā8-)
Okay, now you know the basics. Lets move on to the more complex stuff....... the actual repaint!
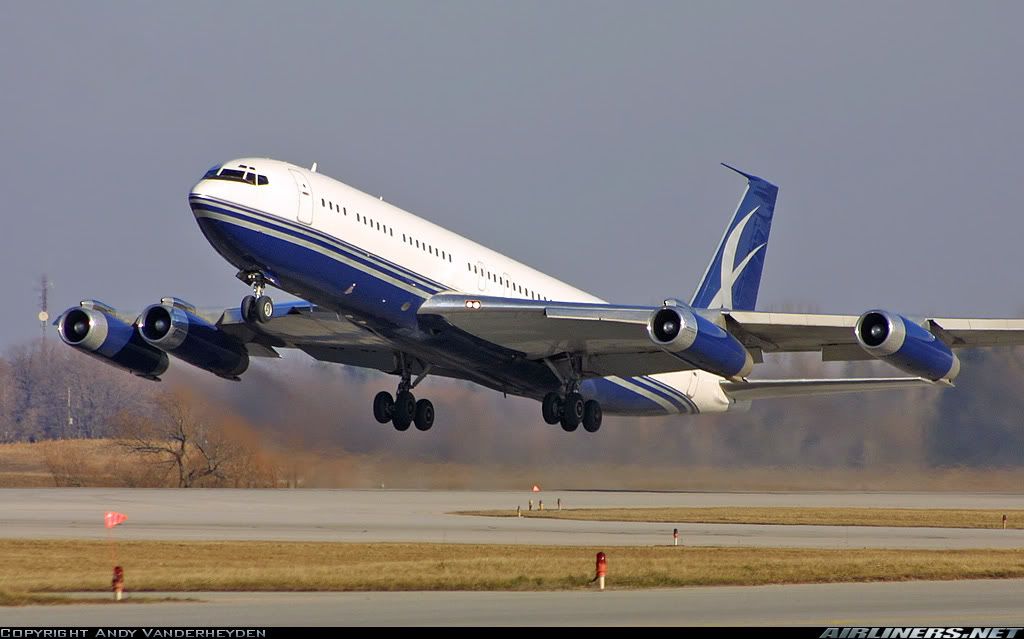
First, you MUST always have a picture of which aircraft your repainting (Unless your doing you own made up one Ā::) ) I'll use the pictures of Principal Air Boeing 707-320B to demonstrate (why the 707? Because I LOVE IT! Ā[smiley=happy.gif])
This Picture is enough to do a repaint, but you should always have a picture of every side of an aircraft first. (If your one of those lazy people like me Ā::) who don't like researching a lot, a picture of sideways and front is enough for a accurate repaint). Now, let's talk about how to use your tools.
Before you do a repaint, do an experiment with every tool there is on the left. There's plenty of them. If you want details about them, just ask me and I'll help you out.
Okay, know for the techniques. They say that a good magician never reveals his secrets. Well, I've never been a good magician, so I tell you all the secrets of repainting (Not every one because otherwise I could write a book! Ā:D). When repainting, always start with one section and don't do another until finishing it. I usually start with the cockpit because there's not much to do there. Ā::) So, lets just say that you want to get the engines blue. First, you need a tool to select it so that we don't paint over something else. I would recommend the Polygonal ĀLasso Tool
You can also use the Magnetic Lasso Tool but you can have more accuracy using this one (The Polygonal tool) .
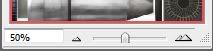
So zoom in so you can see every pixel (That's like a tiny dot that makes the picture) of the engine. Use this to zoom:
You should zoom in until your picture starts too look like this:
Then, use your Lasso tool that you choose and start going over the engine. Once you've done a that, just add paint.
Now for something a little harder. The tail of the aircraft. What I did was I printed the picture. Then used the Polygonal ĀLasso Tool to start selecting it. I would slowly start to bend it and go all the way around it. It can take some time and there is easier ways to go around these things but I like to have control over what I'm doing.
Well, that's about all you need to know to make the repaint, but now to make it the correct format.
You need to download this first (don't worry, its safe): http://www.mnwright.btinternet.co.uk/programs/dxtbmp.htm
2) Run DXTBMP, then, FILE, OPEN, browse to the texture you wish to change, and click OPEN.
3) In the right hand pane you will see a small area marked "Mipmaps", UNTICK the "include when saving" tick box.
4) Click FILE, SAVE AS, EXTENDED BITMAP, in the "save as type" dropdown box click DXT3, then hit save.
5) Continue for all other 32-bit textures.
And that's it! Then, upload it to AVSIM or keep it for yourself. Its up to you.
Man, that took me forever to write! Ā;D If you have any other questions like how to use a specific tool or something don't hesitate to ask me, okay. I'm on the forum all day.
PS - Sorry Captain Sim, I know you don't like to have people write long posts. Ā:-X
First off you need to have the textures. Its included in the repaint kit. The repaint kit is located in your program files and/or here:
C:\Program Files\Microsoft Games\Flight Simulator 9\Aircraft\Legendary_707\Repaint Kit
If you don't have it, click here:
http://www.captainsim.com/support/dl/rk707.html
Before you do anything, and I mean ANYTHING, always use a copy of the textures. NEVER operate on the original one.
Next, you need a program with PSD ability. You have Adobe Photoshop CS2 right? It should work fine with it.
Now you need to know which textures are which (you didn't think it was that easy, did you?):
b707_1_t ---- Front of aircraft
Here you can paint the front of the aircraft as well as a door
b707_2_t ---- Back of aircraft
Here you can paint the back of the aircraft (duh), the bottom and the cargo hold if you want
b707_3_t ---- Left wing
The name says it all. You can edit the top and bottom of the wing, lights, and much more. Just about everything that's on the wing. ;)
b707_4_t ---- The right side of the wing.
Here you can edit the wing, flaps (I think) and the entrance of the plane near the cockpit.
b707_5_t ---- The Tail and fin
Here, edit the tail and fin of the aircraft
b707_6_t ---- The engines
Edit the engines here. You can even edit the turbo fan!
b707_7_t ---- Cockpit
In here you can change everything in the cockpit, from the pilots face to the instrument panel. Plus there's a bonus... the wheels can also be changed. Ā;)
Now, open one of them and you should see, well, nothing to be exact:
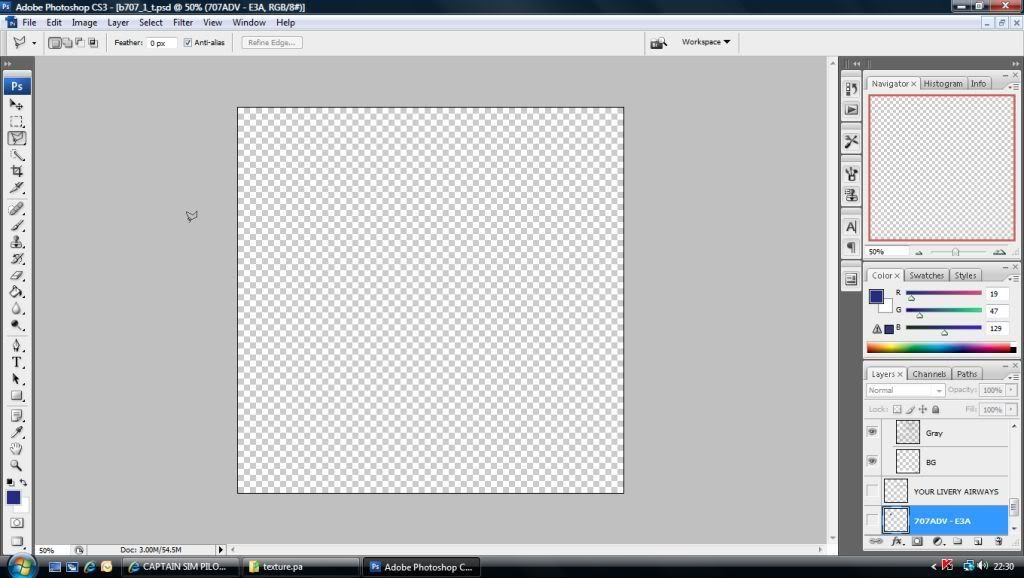
Now, see on the bottom right hand corner, the thing with the names and stuff. Well, that is the layers. Photoshop uses a lot of this.
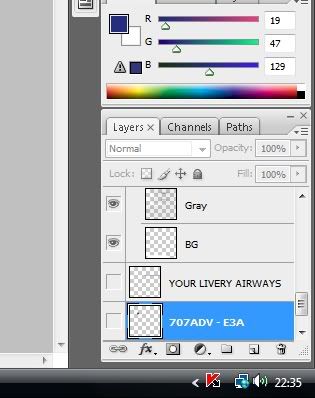
What are layers? Well, the name says it all. Its like pieces of your picture. You can select one, and work on it without damaging other layers. Its very useful. Anyway, you see the little eye next to some of the layer's names? Click that and that layer will appear. When you want to make a repaint, be sure to open only the layers you need. Otherwise you could end up with a Boeing 707-E-3 ADV! Ā:o
So, lets say you want to do a repaint for the -320 ADV. You first open every layers that is needed for the -320 ADV. It should look something like this at first:
Now, here's the cool part. You can select a layer from the bottom right hand corner again and it will appear blue:
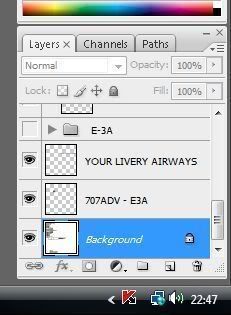
But that's not the cool part (even though it is very cool! Ā;D). Once you've selected a layer, you can work on it without damaging other layers. By that I mean you can try to paint other other layers but nothing will happen until you Āselect it. When repainting you'll be using this for almost every repaint you do! Ā8-)
Okay, now you know the basics. Lets move on to the more complex stuff....... the actual repaint!
First, you MUST always have a picture of which aircraft your repainting (Unless your doing you own made up one Ā::) ) I'll use the pictures of Principal Air Boeing 707-320B to demonstrate (why the 707? Because I LOVE IT! Ā[smiley=happy.gif])
This Picture is enough to do a repaint, but you should always have a picture of every side of an aircraft first. (If your one of those lazy people like me Ā::) who don't like researching a lot, a picture of sideways and front is enough for a accurate repaint). Now, let's talk about how to use your tools.
Before you do a repaint, do an experiment with every tool there is on the left. There's plenty of them. If you want details about them, just ask me and I'll help you out.
Okay, know for the techniques. They say that a good magician never reveals his secrets. Well, I've never been a good magician, so I tell you all the secrets of repainting (Not every one because otherwise I could write a book! Ā:D). When repainting, always start with one section and don't do another until finishing it. I usually start with the cockpit because there's not much to do there. Ā::) So, lets just say that you want to get the engines blue. First, you need a tool to select it so that we don't paint over something else. I would recommend the Polygonal ĀLasso Tool

You can also use the Magnetic Lasso Tool but you can have more accuracy using this one (The Polygonal tool) .

So zoom in so you can see every pixel (That's like a tiny dot that makes the picture) of the engine. Use this to zoom:
You should zoom in until your picture starts too look like this:
Then, use your Lasso tool that you choose and start going over the engine. Once you've done a that, just add paint.
Now for something a little harder. The tail of the aircraft. What I did was I printed the picture. Then used the Polygonal ĀLasso Tool to start selecting it. I would slowly start to bend it and go all the way around it. It can take some time and there is easier ways to go around these things but I like to have control over what I'm doing.
Well, that's about all you need to know to make the repaint, but now to make it the correct format.
You need to download this first (don't worry, its safe): http://www.mnwright.btinternet.co.uk/programs/dxtbmp.htm
2) Run DXTBMP, then, FILE, OPEN, browse to the texture you wish to change, and click OPEN.
3) In the right hand pane you will see a small area marked "Mipmaps", UNTICK the "include when saving" tick box.
4) Click FILE, SAVE AS, EXTENDED BITMAP, in the "save as type" dropdown box click DXT3, then hit save.
5) Continue for all other 32-bit textures.
And that's it! Then, upload it to AVSIM or keep it for yourself. Its up to you.
Man, that took me forever to write! Ā;D If you have any other questions like how to use a specific tool or something don't hesitate to ask me, okay. I'm on the forum all day.
PS - Sorry Captain Sim, I know you don't like to have people write long posts. Ā:-X